


Getting your curtain measurements spot-on is a game of precision from the very first step. Before you do anything else, grab three simple things: a good metal tape measure, a pencil, and a notepad or phone to jot down the numbers.
The absolute key is to decide first whether you're hanging your curtains on a pole or a track. This single choice changes everything about where you’ll measure the width and length.
Setting the Stage for Perfect Measurements
A little prep work now will save you from having to do this job twice. Getting the foundations right isn't really about the numbers themselves, but the decisions you make before you even pick up the tape measure.
Think of it like this: you wouldn't start painting a room without prepping the walls first, would you? In the same way, jumping straight into measuring without a clear plan is a surefire way to end up with curtains that are too short, not full enough, or don't block out the light properly.
Your Essential Curtain Measuring Toolkit
Before you start, gathering the right tools makes the whole process smoother and far more accurate. Here's a quick checklist of what I always have on hand.
| Tool | Why You Need It | Pro Tip |
|---|---|---|
| Metal Tape Measure | It won't stretch or sag like a fabric one, giving you dead-on accurate numbers every time. | Choose one that's at least 5 metres long so you can measure wide windows in one go without errors. |
| Pencil and Notepad | For jotting down your measurements as you go. Don't rely on memory! | I always sketch a quick diagram of the window and label each measurement. It helps visualise everything later. |
| Step Ladder | Essential for safely and accurately measuring the drop from high-up poles or tracks. | Make sure it's stable and never over-reach. It's better to move the ladder than to risk a fall. |
Having these basics ready means you can focus entirely on getting those crucial figures right without any interruptions.
Your First Big Decision: Pole vs. Track
The most important choice you'll make right now is whether you'll hang your curtains from a pole or a track. It’s not just about style; it dictates exactly where your measurements start and finish.
-
Curtain Poles: These are designed to be seen and are often decorative, with finials (the fancy ends) that add to the overall width. For a pole, you’ll measure the window's width and then add a generous overlap on each side.
-
Curtain Tracks: These are much more discreet, designed to be hidden by the curtain fabric itself. For a track, your width measurement is simply the length of the track from end to end.
This decision creates the entire framework for your calculations, so it’s the perfect place to begin.
How Curtain Style Influences Your Starting Point
Next up is the style of curtain heading you want. This little detail changes where you measure the curtain’s drop (its length). For instance, with eyelet curtains, the fabric actually sits above the pole, so you have to measure from the very top of the pole downwards. But for pencil pleat curtains hanging from a track, you'd measure from the top of the track instead.
Taking a moment to finalise your hardware and curtain style before you measure is the single best thing you can do to avoid common mistakes. It turns the task from guesswork into a simple, repeatable process.
To guarantee accuracy from the get-go, using a perfect window measuring template can be a huge help. A structured approach removes any doubt and gives you a clear record of your numbers.
Once your measurements are all sorted, our simple https://thesofacovercrafter.co.uk/pages/installation-guide is ready to walk you through the next steps of hanging your beautiful new curtains.
Calculating the Ideal Curtain Width
Getting the width right is what creates that luxurious, professionally-hung look. It’s not just about covering the glass; it's about achieving beautiful fullness and making sure you let in as much natural light as possible when the curtains are open.
This is where we move from a quick measurement to the practical art of translating your window size into the perfect fabric width. The goal is to ensure your curtains look just as good drawn shut as they do pulled open in elegant folds.
Before you even touch a tape measure, there are a couple of decisions to make first. This simple flowchart breaks down the initial prep into three clear stages.
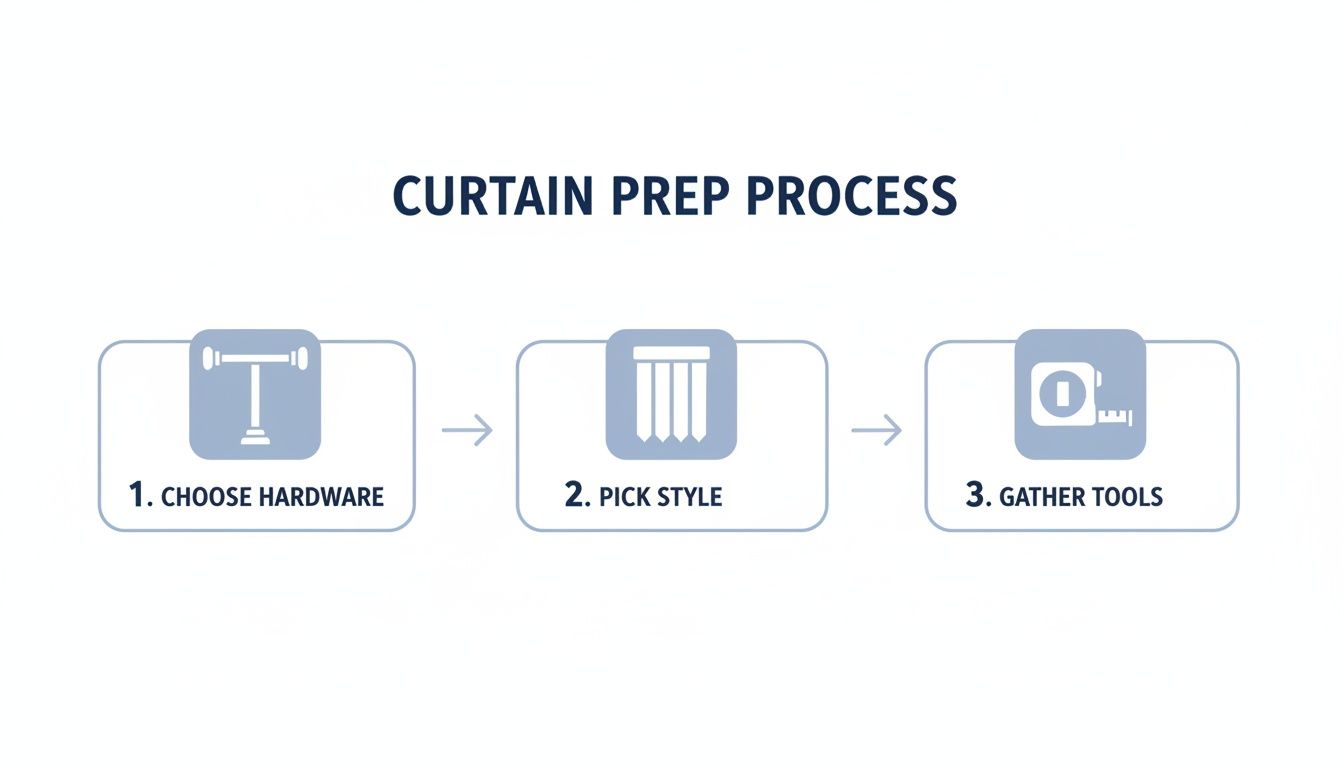
As you can see, selecting your hardware and curtain style must happen before you gather your tools. These are foundational decisions that dictate everything else.
Measuring for Curtain Poles and Stackback
For curtain poles, the measurement you need isn’t the window recess itself. Instead, you need to measure the full length of the pole, excluding the decorative finials at each end. This is the core number you'll be working with.
A crucial concept here is stackback—the space the curtains occupy on the wall when they are fully open. If your pole is only as wide as the window, the stacked curtain fabric will block a significant amount of light and make the room feel smaller.
To avoid this, your pole should extend beyond the window frame on both sides. In the UK, this has long been a rule of thumb, with experts recommending a minimum 15 cm overhang on each side. For a typical 150 cm window, this means your pole should be at least 180 cm long, allowing the curtains to frame the view rather than obscure it.
Measuring for Curtain Tracks
Measuring for a track is a bit more straightforward. Since tracks are functional and often hidden, you simply measure the total length of the track from one end to the other. If your track has overlaps in the centre for a snug closure, make sure you include these in your total measurement.
Pro Tip: If you don't have a pole or track installed yet, measure the width of the window recess and add a minimum of 30 cm (15 cm per side) to determine the ideal length for your new hardware. This ensures you buy a pole or track that is perfectly suited for maximising light from the get-go.
Understanding Curtain Fullness Multipliers
Now for the magic ingredient: fullness. To get those beautiful, rich folds, the total width of your curtain panels must be significantly wider than the pole or track they are covering. How much wider depends entirely on the curtain heading style you've chosen.
This is calculated using a simple multiplier:
- Pencil Pleat & Pinch Pleat: These traditional styles need lots of fabric for their tight, formal gathers. You'll want a multiplier of 2x to 2.5x the pole or track length.
- Eyelet Curtains: The deep, S-shaped wave of eyelet curtains requires less fabric to look its best. A multiplier of 1.5x to 2x the pole length is ideal.
- Tab Top & Slot Top: These simpler styles also need less material. Aim for a multiplier of around 1.5x.
Let's say your curtain pole is 200 cm long and you’ve chosen classic pencil pleat curtains. You'll need a total fabric width of at least 400 cm (200 cm x 2).
This might seem like a lot of fabric, but it's this generosity that creates the elegant, flowing look you see in interior design magazines. While getting these measurements right is key for curtains, you can explore our comprehensive size guide for sofa covers to apply similar principles to your furniture.
Determining the Perfect Curtain Length
The length of your curtains, or the ‘drop’, is one of those design choices that completely defines the feel of a room. It’s the difference between a crisp, tailored look and something far more dramatic and romantic. Getting this right is key.
No matter which style you’re going for, your measurement always starts from the same place: either the very top of the curtain track or the top of the curtain pole. From that point, it’s all about deciding where you want the fabric to finish. This one decision can make a ceiling feel taller or a window seem grander, while a miscalculation can just look awkward. Let's walk through the three classic lengths to find the perfect one for your space.
Classic Curtain Drop Styles
There are three main styles that interior designers turn to time and again, each offering a distinct aesthetic. The right one for you will come down to the room's function, your personal taste, and practical things like radiators.
- Sill Length: Here, the curtain hem sits about 1 cm above the windowsill. This is a neat, practical choice that’s especially popular in kitchens and bathrooms where long, trailing curtains would just get in the way.
- Below Sill Length: For this look, the curtain extends roughly 15 cm below the windowsill. It offers a more ‘finished’ feel than sill-length and is the go-to solution for clearing radiators while still providing great coverage.
- Floor Length: This is by far the most popular and elegant option. The curtain hem hovers about 1 cm above the floor, creating a sense of height and luxury that works beautifully in living rooms and bedrooms.
If you’re after a more opulent, designer touch, you could also try a "puddled" look. This is achieved by adding an extra 15-30 cm to a floor-length measurement, allowing the fabric to pool gracefully on the floor. It’s a stunning effect for formal dining rooms or lavishly decorated bedrooms.
Measuring with Precision for Uneven Surfaces
Here's a tip from experience: homes are rarely perfectly level, especially older properties. Floors can dip and windowsills can slope slightly over the years. If you only take one measurement for the drop, you might end up with curtains that hang unevenly – one side just touching the floor while the other is frustratingly short.
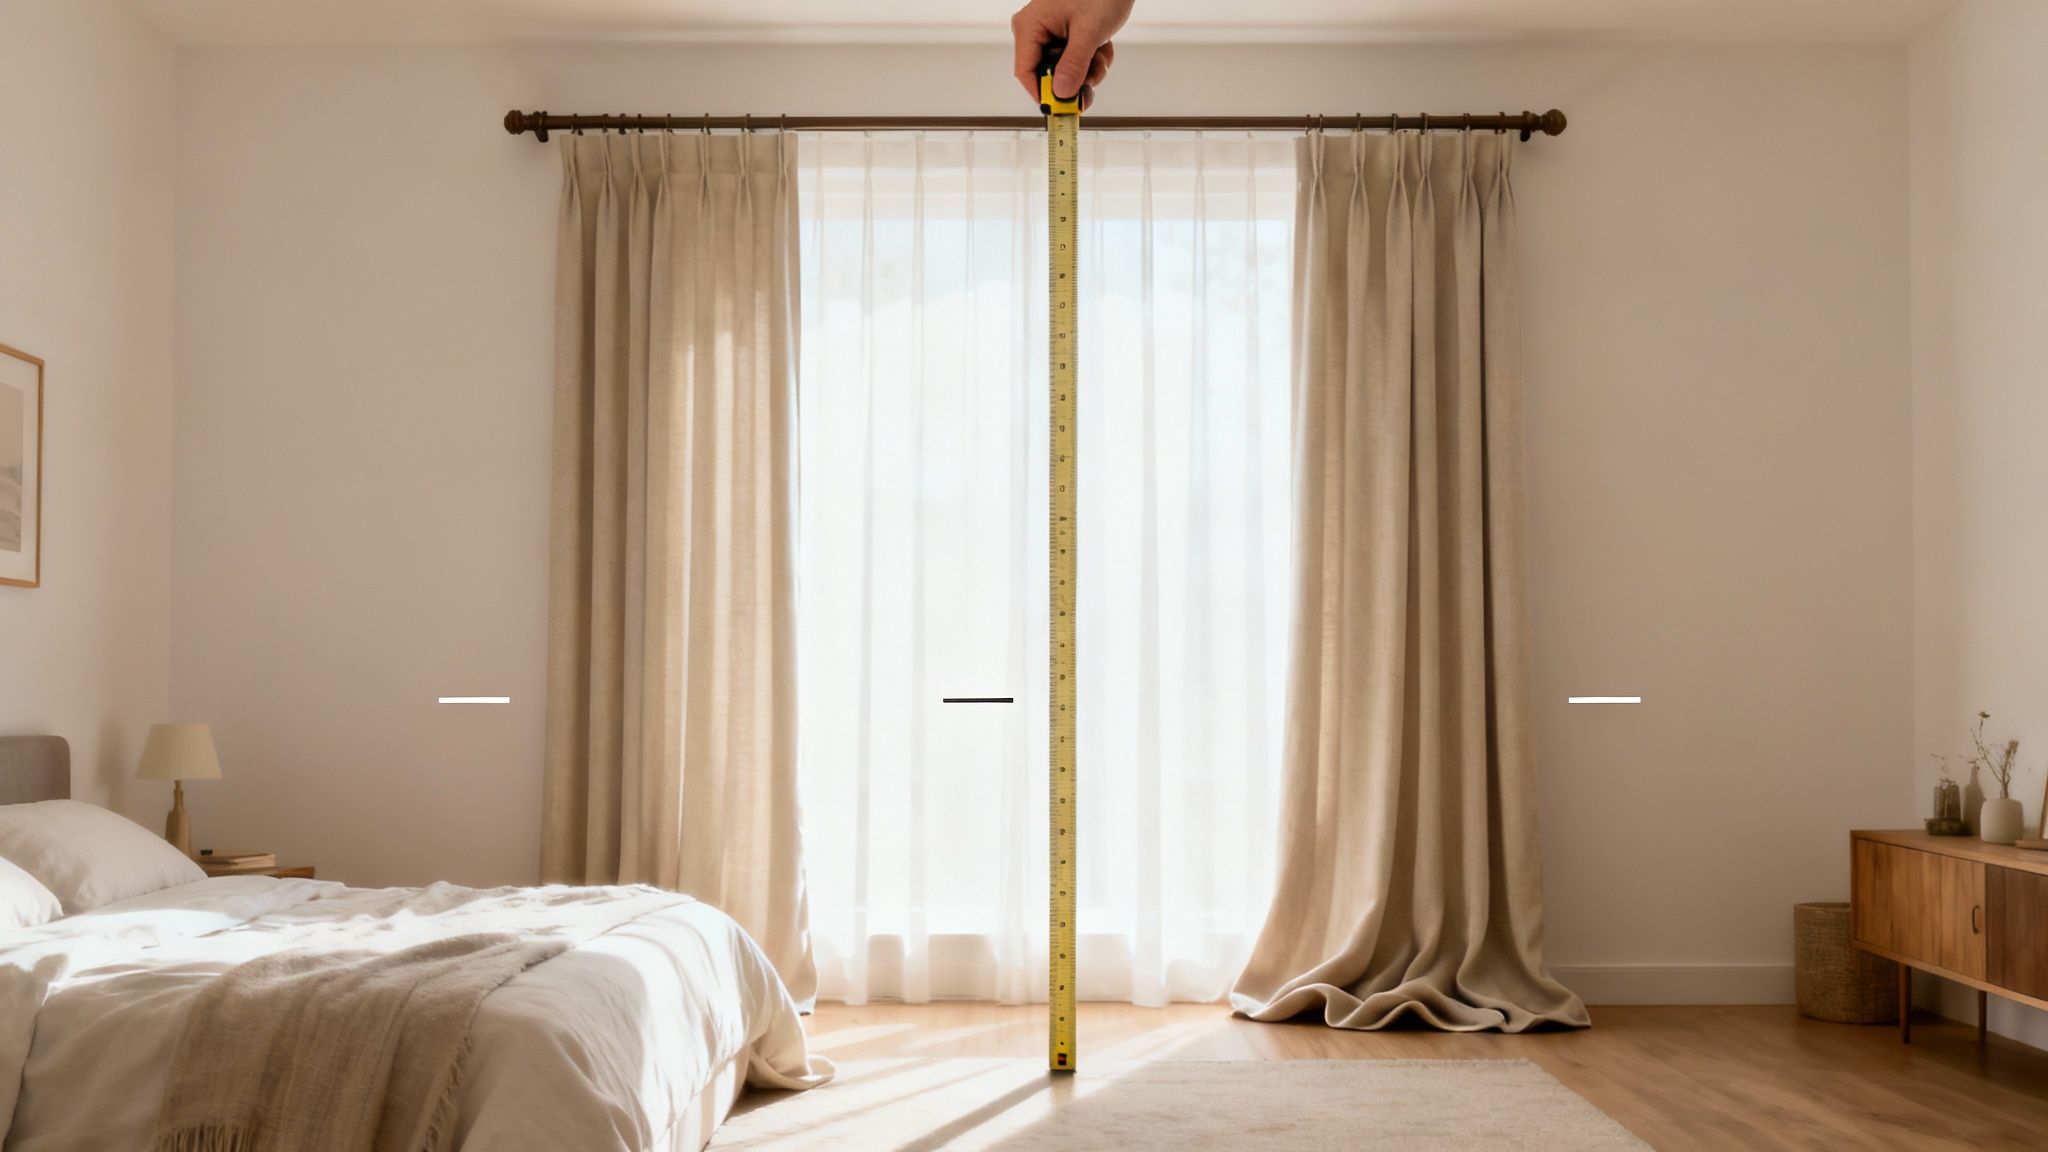
To avoid this all-too-common mistake, you must take three separate measurements for the drop:
- Measure the drop on the far left side of the window.
- Measure again right in the centre.
- Finally, measure the drop on the far right side.
Once you have these three figures, always use the shortest measurement as your final number. This guarantees your curtains will hang beautifully straight, never dragging on the floor at any point.
Working with Standard Sizes and Radiators
While made-to-measure offers complete flexibility, most ready-made curtains in the UK come in standard drops like 137 cm, 183 cm, and 228 cm. When you’re measuring, you’ll want to see which of these standard lengths comes closest to your ideal finish line.
For example, a 183 cm drop is often a great fit for sill-length curtains in many bedrooms, while a longer 228 cm drop suits the majority of modern living rooms. When radiators are a factor—and they’re present under a surprising 52% of windows—the 'below sill' drop becomes essential. Aiming for at least 15 cm below the sill ensures the curtain hangs neatly without trapping all that valuable heat. You can explore more on how curtain lengths are tailored for different homes at Swift Direct Blinds.
A quick pro tip: when measuring for a drop that needs to clear a radiator, your "below sill" measurement should end at least 3-5 cm above the radiator itself. This allows for proper air circulation and makes a huge difference to your home's warmth and energy efficiency.
Adapting Measurements for Different Curtain Styles
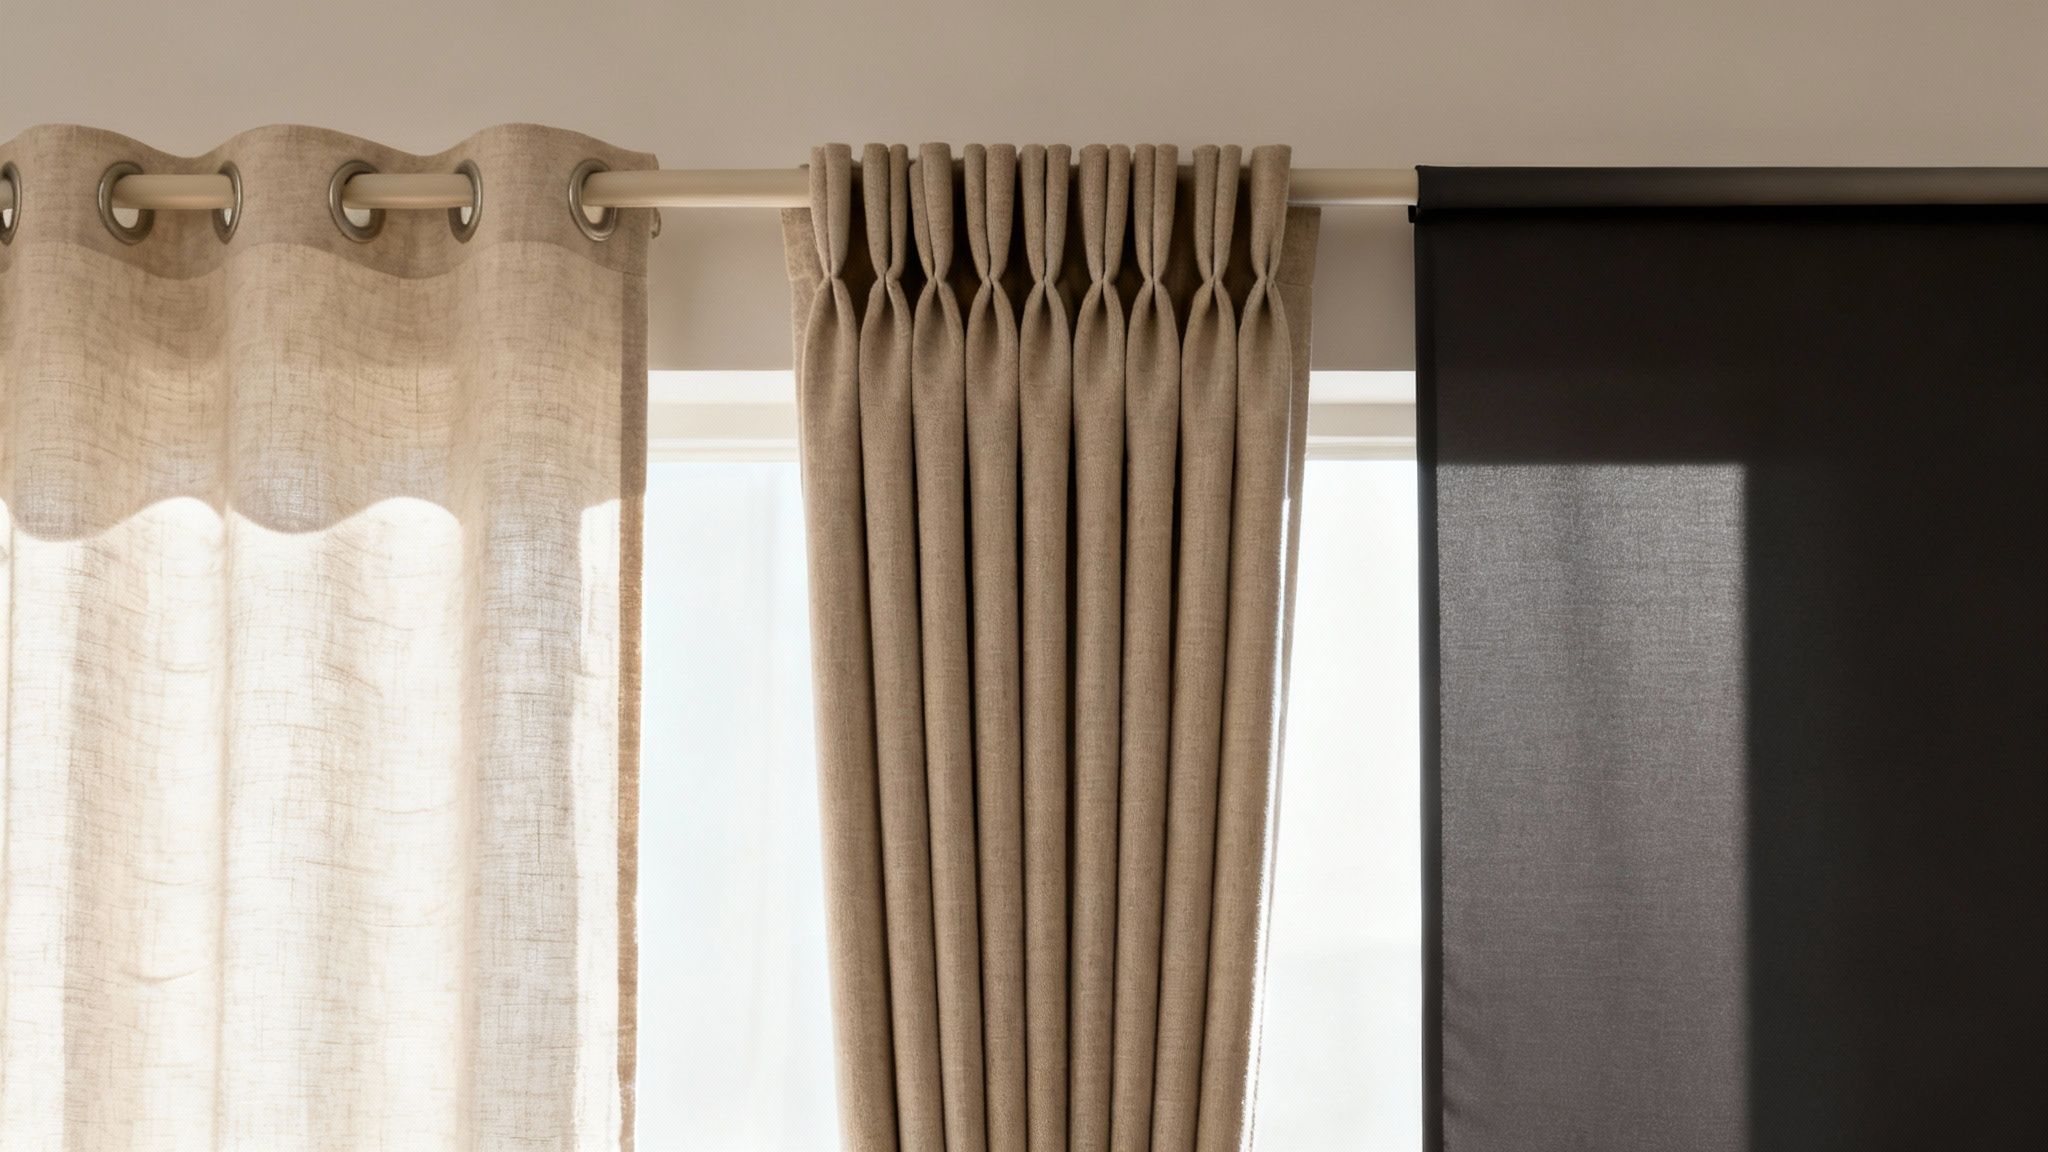
Once you've got your basic window measurements, you're halfway there. The next step is to tweak those numbers based on the actual curtain style you've fallen for. Each heading—from modern eyelets to classic pleats—hangs differently, and these small adjustments are what make the difference between a good fit and a truly professional one.
Think of it like this: the window measurements are the basic pattern, but the curtain style is the specific cut. Getting it right ensures the fabric drapes perfectly and the whole look comes together.
Measuring for Eyelet Curtains
Eyelet curtains create those gorgeous, uniform waves, but they have one little quirk you need to account for. Because the fabric pokes up above the curtain pole through the eyelets, you have to factor this into your drop measurement.
Always measure from the very top of your curtain pole down to where you want the curtain to end, then add 3 cm. This little extra ensures the hem finishes exactly where you planned, as that bit of fabric above the rings doesn't contribute to the actual hanging length.
Width is another key consideration, specifically something called 'stackback'. The deep folds of eyelet curtains mean they take up a fair bit of room when pulled open. As a rule of thumb, for a standard 46-inch (117 cm) pole, you'll want to allow about 7 inches (18 cm) of stackback space on each side. This ensures the curtains clear the window completely, letting in as much light as possible. You can see these UK calculations in action and watch a detailed video guide to truly understand eyelet curtain stack width.
Perfecting Pencil and Pinch Pleat Curtains
For the more traditional pencil and pinch pleat styles, it's all about achieving that lovely, generous fullness. These headings are designed to look rich and gathered, which means you need plenty of fabric.
The key here is the fullness multiplier. This simple calculation transforms a flat piece of fabric into a luxurious curtain.
Quick Guide to Curtain Fullness
To get that classic, gathered look right, you need to use the correct amount of fabric for your heading style. This little table is a great cheat sheet to keep handy.
| Curtain Heading Style | Recommended Fullness (Multiplier) | Finished Look |
|---|---|---|
| Pencil Pleat | 2x to 2.5x | A dense, traditional gather |
| Pinch Pleat | 2x | Structured, formal, tailored pleats |
| Eyelet / Grommet | 1.8x to 2x | Soft, uniform waves |
As you can see, skimping on fabric is the fastest way to a disappointing result. A generous multiplier is what creates that high-end, elegant finish.
When measuring the drop for these styles, you'll want to measure from the small eyelet at the bottom of the curtain rings (for a pole) or from the very top of the track. This little detail ensures the curtain heading sits perfectly and hides the hardware from view.
Getting the fullness right transforms your curtains from a simple window covering into a real feature of the room. It’s the single biggest mistake I see people make—not ordering enough fabric width for these classic styles, leaving them looking thin and underwhelming.
Ensuring Success with Blackout Curtains
Measuring for blackout curtains requires a slightly different mindset. Here, the goal isn't just decoration; it's total light exclusion. Precision is everything, and your mantra should be "more is more". It’s all about creating generous overlaps to block out those annoying slivers of light that creep in around the edges.
For the width, I always recommend adding a minimum of 15 cm to each side of the window recess—go even wider if you have the wall space. For the drop, measure at least 15 cm below the windowsill. Even better, take them right down to the floor.
These extra dimensions create a light-proof seal around the window, which is what makes blackout curtains so effective, especially in bedrooms.
Common Measuring Mistakes and How to Avoid Them
Even with the best of intentions, a tiny slip-up when measuring for new curtains can quickly turn into a big headache. I've seen it happen countless times. So, think of this as your final pre-order checklist, designed to help you sidestep the simple but costly errors that catch so many people out.
One of the most frequent mistakes is forgetting about the decorative finials on a curtain pole. You might measure the pole itself perfectly, but if you don't account for the extra space those ends need, you can end up with a fit that's jammed too tightly against an adjacent wall or piece of furniture. Always try to visualise the entire assembly, finials and all, before you commit to your numbers.
Another classic error is measuring the window frame or the recess itself, rather than where your pole or track will actually be positioned. Your hardware will almost always sit above and extend beyond the frame, so these are the points that truly matter for getting the drop and width spot on.
Forgetting the Finer Details
It’s the small things that often snowball into the biggest issues. Using the wrong tool is a prime example. A flimsy fabric or tailor’s tape measure can stretch or sag, instantly compromising your figures. A rigid metal tape measure is completely non-negotiable for this job.
Here are a few other common trip-ups I'd urge you to watch for:
- Ignoring Uneven Surfaces: Relying on a single drop measurement is a huge gamble. Floors and window sills are rarely perfectly level, so always measure the left, centre, and right sides. You must use the shortest of these three figures to avoid your curtains dragging on the floor.
- Rounding Numbers: Precision is absolutely key here. Please don't round your measurements up or down to the nearest centimetre; record the exact figure you see on the tape. It’s what ensures a truly professional, bespoke-looking finish.
- Miscalculating Fullness: Just buying fabric that matches your pole’s width will result in a flat, lifeless curtain that looks more like a sad sheet. Always apply the correct fullness multiplier for your chosen heading style to get that lovely, rich gather.
This process requires the same attention to detail as any other home furnishing project. For instance, just as you need precise figures for a new window treatment, you must also learn how to measure your sofa correctly for a new cover to get that perfect, snug fit.
Double-checking these details provides a vital safety net. To completely avoid common measuring mistakes and ensure absolute precision, you might also consider utilising professional measurement taking services. A second look now can save you a world of disappointment later on.
Frequently Asked Questions About Measuring for Curtains
Even with a detailed guide, a few questions often pop up right at the end. Getting the measurements for new curtains spot-on can feel a bit nerve-wracking, but these common queries should help clear up any lingering doubts and give you the confidence to get it right.
Think of this as your final checklist. A quick scan through these points can help you catch a small detail that makes a huge difference to the final look of your room.
How Far Above the Window Should My Curtain Pole Be?
As a rule of thumb, I always recommend fitting your pole or track about 15 cm (6 inches) above the top of the window frame. This is one of those classic interior design tricks that genuinely works wonders.
Hanging your hardware higher creates an illusion of height, making your ceiling feel taller and the whole room seem more spacious. It also has a practical benefit, as it’s much better at blocking that sliver of light that can creep in over the top of the curtains.
If you’re blessed with particularly high ceilings, you can definitely go even higher. A great approach is to find the midpoint between the top of your window and the ceiling—this creates a beautifully balanced, professional-looking finish.
Should I Add Extra Width for Blackout Curtains?
Yes, absolutely. For blackout curtains to be truly effective, they need to extend generously past the window frame to stop those frustrating slivers of light sneaking in at the sides.
When you’re measuring the width, I always advise adding at least 15-20 cm (6-8 inches) of overlap on each side of the window recess. For the drop, aim for a minimum of 15 cm below the sill.
For the ultimate light-blocking setup, taking the curtains right down to the floor is your best bet. If you pair them with a curtain track that has 'returns'—little curves that bring the fabric right back to the wall—you’ll close off those side gaps almost completely.
How Do I Measure for a Bay Window?
Bay windows are a stunning feature in any home, but they do require a bit more patience to measure correctly. The key is to treat each flat section of the bay as its own separate window.
- Start by measuring the main, central section of the bay first.
- Next, measure each of the side sections individually.
- Your total width is simply the sum of all these measurements added together.
If you have a curved bay, you'll need a flexible tape measure to follow the arc of the wall accurately. Because of their complexity, bay windows are one area where calling in a professional fitter can save a lot of headaches and prevent costly mistakes if you’re not feeling confident.
Ready to transform your living space with a fresh new look? At The Sofa Cover Crafter, we make it easy to protect your furniture and update your style. Explore our beautiful collection of sofa and cushion covers at https://thesofacovercrafter.co.uk and find the perfect match for your home today.