


That fresh scratch on your beautiful leather sofa can feel like a disaster, but don't panic. More often than not, it's a completely manageable fix. The secret to a successful repair, though, isn't jumping straight in with a product—it's taking a moment to figure out exactly what you're dealing with.
Is it a faint scuff that's only bothered the surface, or a deeper gouge that has actually damaged the leather fibres? Getting this right from the start is half the battle.
Sizing Up the Scratch: Your First Look
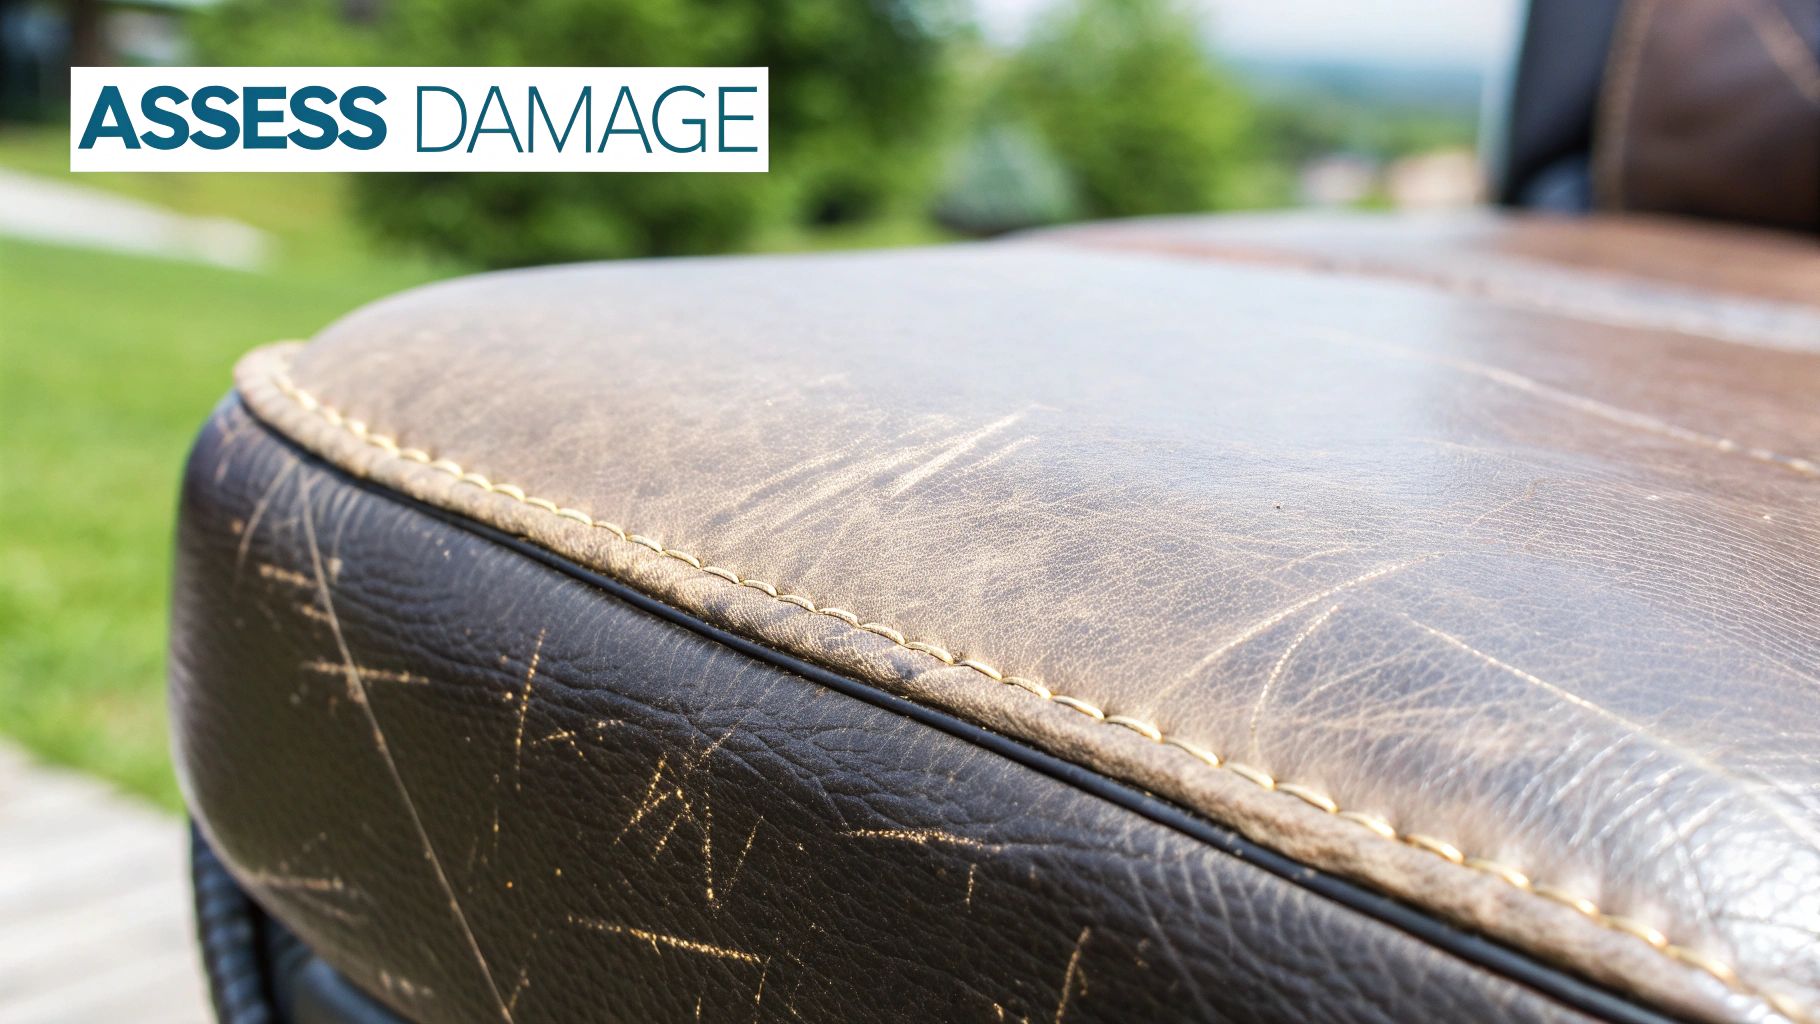
Think of it like being a detective. A proper diagnosis is the key to a flawless repair. You wouldn't treat a sprain the same way you'd treat a broken bone, and the same logic applies here. Taking a few minutes to assess the damage properly can save you from accidentally making a small problem much bigger.
Here's a simple test: gently run your fingernail over the scratch. If it glides across smoothly and the mark is mostly a change in colour, you're likely looking at a light surface scuff. These are usually the simplest to sort out.
But if your nail catches in a groove and you can feel or see rough, frayed fibres, you’ve got a deeper scratch on your hands. This will need a bit more work and a different approach.
Before you start any repair, it helps to have a clear plan.
Your Initial Scratch Diagnosis Plan
Use this quick guide to identify your leather scratch and determine the best starting point for a successful repair.
| Scratch Severity | What It Looks Like | Your First Step |
|---|---|---|
| Light Scuff | A faint line, often lighter than the surrounding leather. Feels smooth to the touch. | Start with a leather conditioner or a specialised leather recolouring balm. |
| Deeper Scratch | A noticeable groove your fingernail can catch in. May have slightly frayed edges. | You'll likely need a heavy filler or repair compound to level the surface. |
| Deep Gouge | The leather is torn, with visible, loose fibres. The colour beneath is exposed. | This calls for a multi-step repair involving filler, sanding, and colour matching. |
This initial check gives you a solid foundation for choosing the right tools and techniques for the job ahead.
What Kind of Leather Are You Working With?
The material itself is just as crucial as the scratch. Different types of leather have unique finishes and properties, and your repair method needs to respect that.
- Pigmented (or Finished) Leather: This is the workhorse of the sofa world. It’s covered with a protective polymer coating, which makes it tough and resistant to stains and scuffs. Repairs on pigmented leather are generally the most straightforward and forgiving.
- Aniline Leather: Prized for its incredibly soft, natural feel, aniline leather has no protective topcoat. This means it soaks up spills and shows scratches very easily. You'll need a much more delicate touch here.
- Nubuck or Suede: These leathers have that distinct velvety, napped texture. A scratch on this material is less of a cut and more of a disturbance of that nap, so it requires a completely different, specialised repair technique.
A proper assessment is the foundation of a great repair. Misdiagnosing the scratch or the leather type is where most DIY repairs go wrong, leading to frustration and sometimes permanent damage.
If your sofa has widespread damage, deep tears, or marks that seem beyond a simple fix, you might want to think about other solutions. Sometimes, exploring options like the best slipcovers for leather couches can be a fantastic and practical way to give your furniture a whole new lease on life.
It's clear people are more invested than ever in looking after their quality goods. In fact, the global market for repairing leather items is expected to hit $4.0 billion by 2033, a trend driven by our desire to preserve valuable pieces rather than replace them. You can read the full research about the leather repair market if you're curious to see how the industry is evolving.
Building Your Leather Repair Toolkit
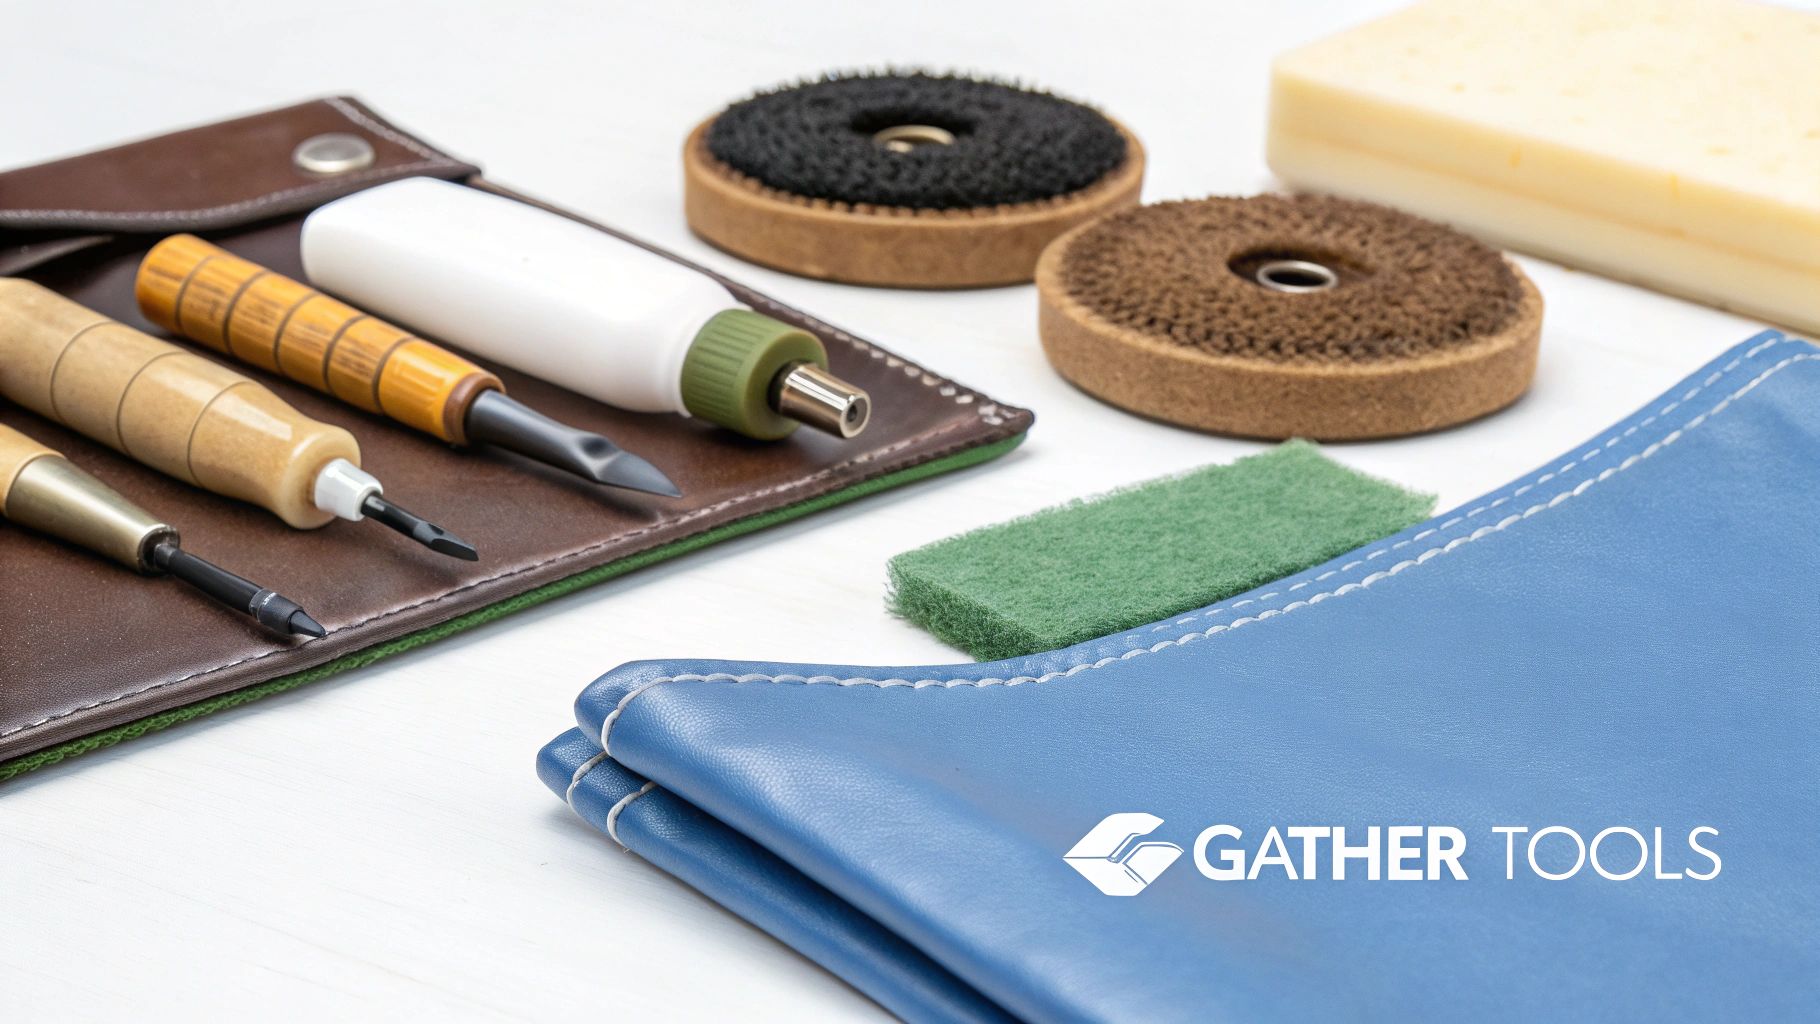
Getting the right supplies to hand can make a world of difference between a quick fix and a finish that looks professionally done. Think of this as laying out your ingredients before you start cooking – it keeps things running smoothly.
Before you dive in, you’ll want a gentle pH-neutral leather cleaner and a handful of soft microfibre cloths. Steer clear of harsh household detergents; they tend to leach out the leather’s natural moisture.
Core Repair Materials
- Leather Conditioner: Ideal for light marks. Pick one rich in natural oils rather than a silicone-based formula that simply sits on top.
- Heavy Leather Filler: For deeper scratches. This flexible compound bridges gaps and forms a fresh surface to work on.
- Fine-Grit Sandpaper: You’ll need something super fine (around 1200) to gently level the filler once it’s dry.
- Palette Knife Or Spatula: A small, bendy blade helps you spread filler thinly and evenly.
A common mistake is grabbing a cheap “all-in-one” fix kit off the peg. In my experience, selecting each component from a reputable UK supplier beats the one-size-fits-all approach every time.
Finally, match that repair with a colour-matched balm or dye, then seal it with a leather sealant to lock in your work and restore the original sheen. Investing in these essentials is the surest way to tackle scratches with confidence.
Tackling Minor Surface Scratches
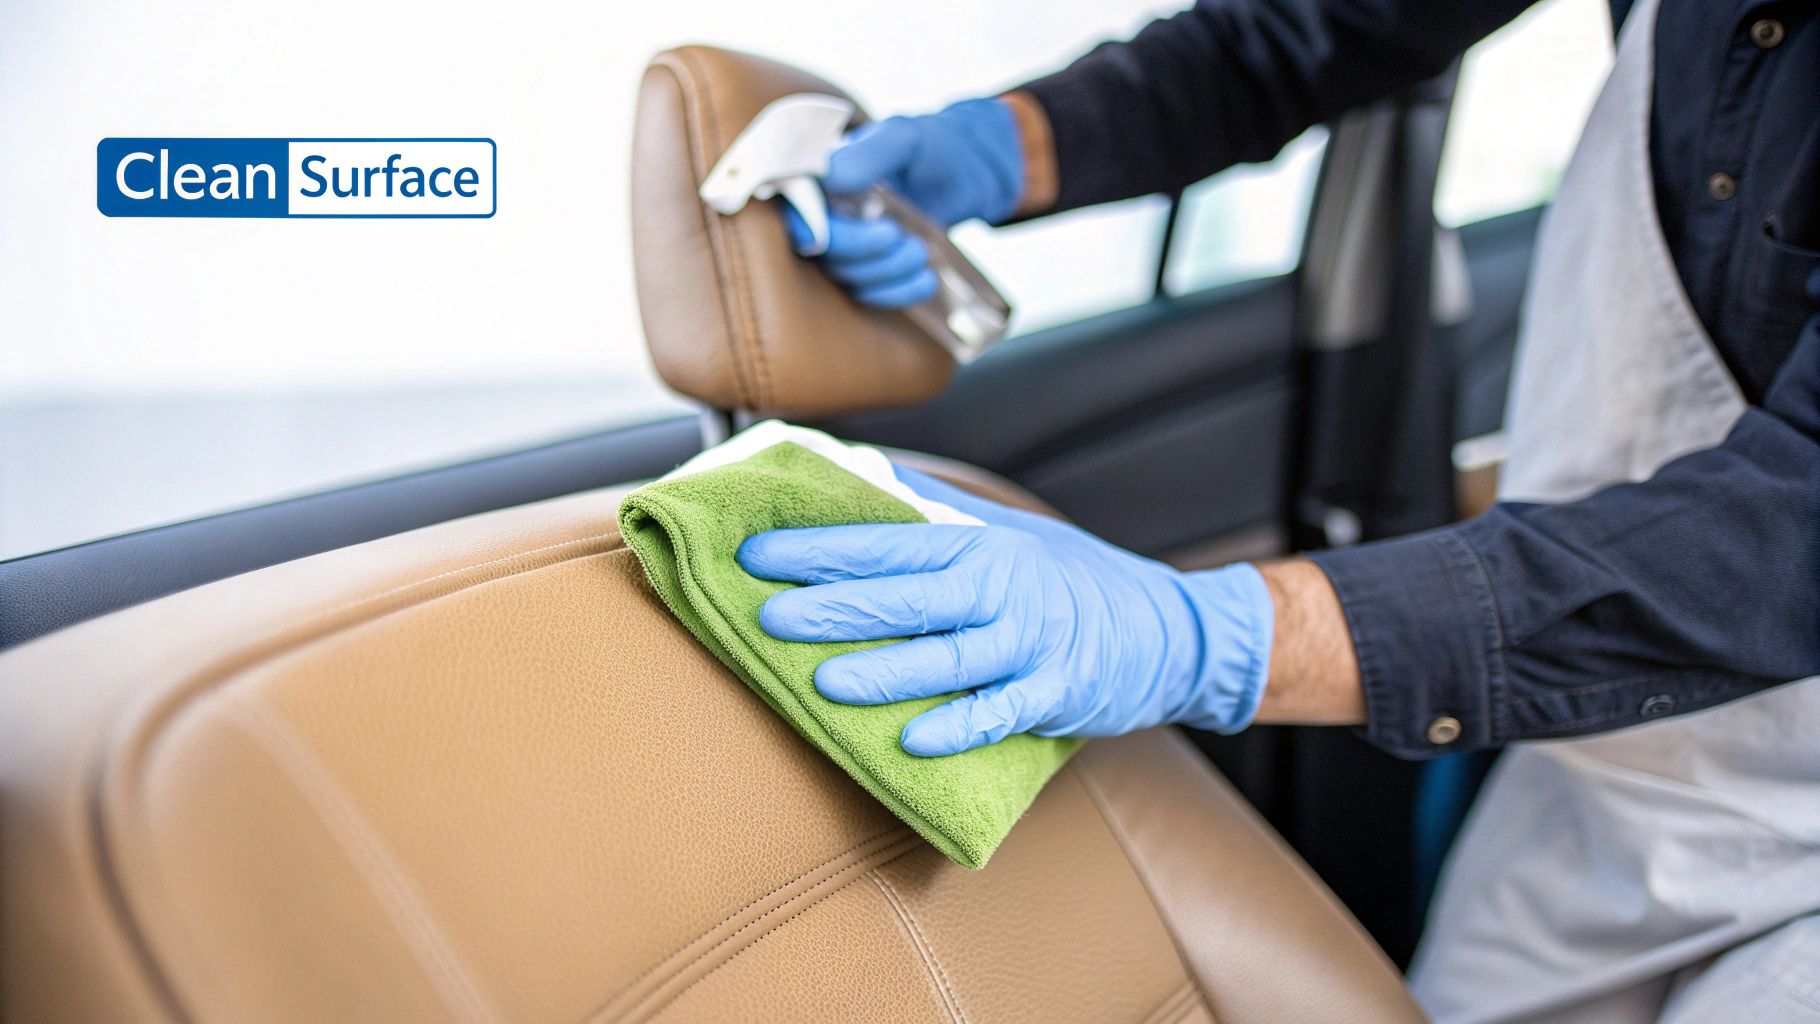
This is where you can get some genuinely satisfying results. Minor surface scratches—the kind left by keys, a pet's claws, or just the bumps and scrapes of daily life—are often the easiest to sort out. With the right technique, you can often make them vanish completely. The whole process is quite gentle, focusing more on nourishing the leather than on any kind of aggressive repair work.
First things first, you need a clean slate. Before you even think about applying any products, give the scratched area a good wipe-down with a dedicated leather cleaner and a soft microfibre cloth. This lifts any surface dirt or oils that might get in the way, making sure the conditioner can do its job properly.
The Heat and Massage Method
This approach might sound almost too simple, but trust me, it’s remarkably effective for minor scuffs. The idea is to use a bit of conditioning and gentle heat to help the leather fibres plump up and blend back together, effectively making the scratch disappear.
Here’s how it’s done:
- Apply a Good Conditioner: Dab a small amount of high-quality leather conditioner or a specialised oil directly onto the scratch. Using a clean, soft cloth, work it into the leather with a gentle, circular motion.
- Bring in a Little Warmth: Grab a hairdryer and pop it on its lowest heat setting. You'll want to hold it about 15-20 centimetres away from the leather to gently warm the area you've just conditioned.
- Massage the Scratch Away: Once the leather feels warm, use your fingers to gently massage the scratch and the area around it. The warmth helps the conditioner sink in deeply, while the massage encourages the leather’s own natural oils and dyes to move back into the scuffed-up spot.
You might need to give it a couple of goes, but you should see the scratch start to fade pretty quickly. The real trick here is patience. And remember, low and indirect heat is your friend—you don't want to risk damaging the finish.
A word of caution: be very careful not to overheat the leather. If it ever feels too hot for you to comfortably touch, you’re using too much heat. The goal is simply to make it warm and pliable, not to cook it.
This hands-on, DIY approach is becoming more and more common. In fact, here in the UK, the market for leather goods repair is growing, largely because people are keen on sustainability and want to hang on to their valuable items. With the high cost of replacement and fewer skilled craftspeople around, it’s no surprise that more of us are learning to do these fixes ourselves. You can actually discover more insights about the UK leather repair market if you're interested in the trend.
Repairing Deep Gouges and Tears
When you're faced with a deep cut or a nasty gouge in your leather, a simple polish just won't cut it. This kind of damage needs a more robust approach where we actually rebuild the torn fibres and bring the surface back to level. Get this right, and the final repair will be practically invisible.
The first thing you need to do is prep the damaged area. Grab some fine-grit sandpaper and gently trim away any loose, frayed fibres around the edges of the cut. You're aiming for a smooth edge, but be careful not to overdo it. This step is crucial because it gives the leather filler a clean, stable base to stick to.
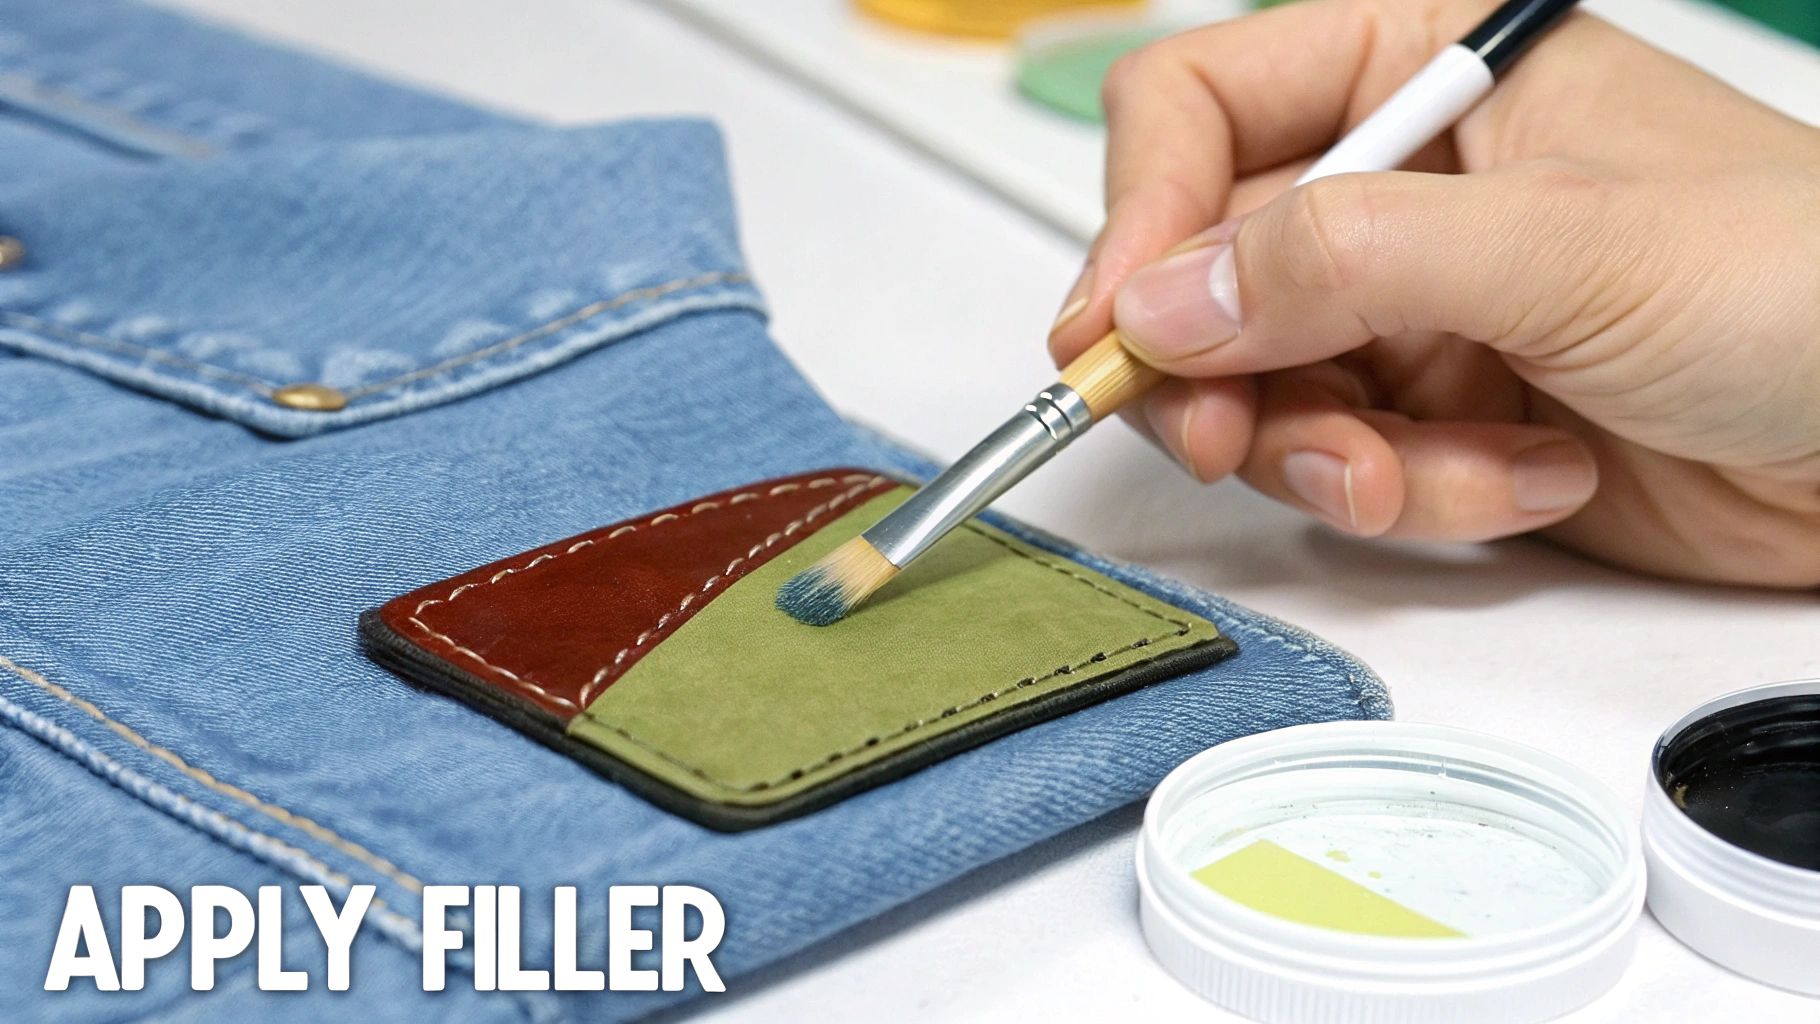
This image breaks down the whole process into three key stages: assessing the damage, filling it, and then conditioning the leather.
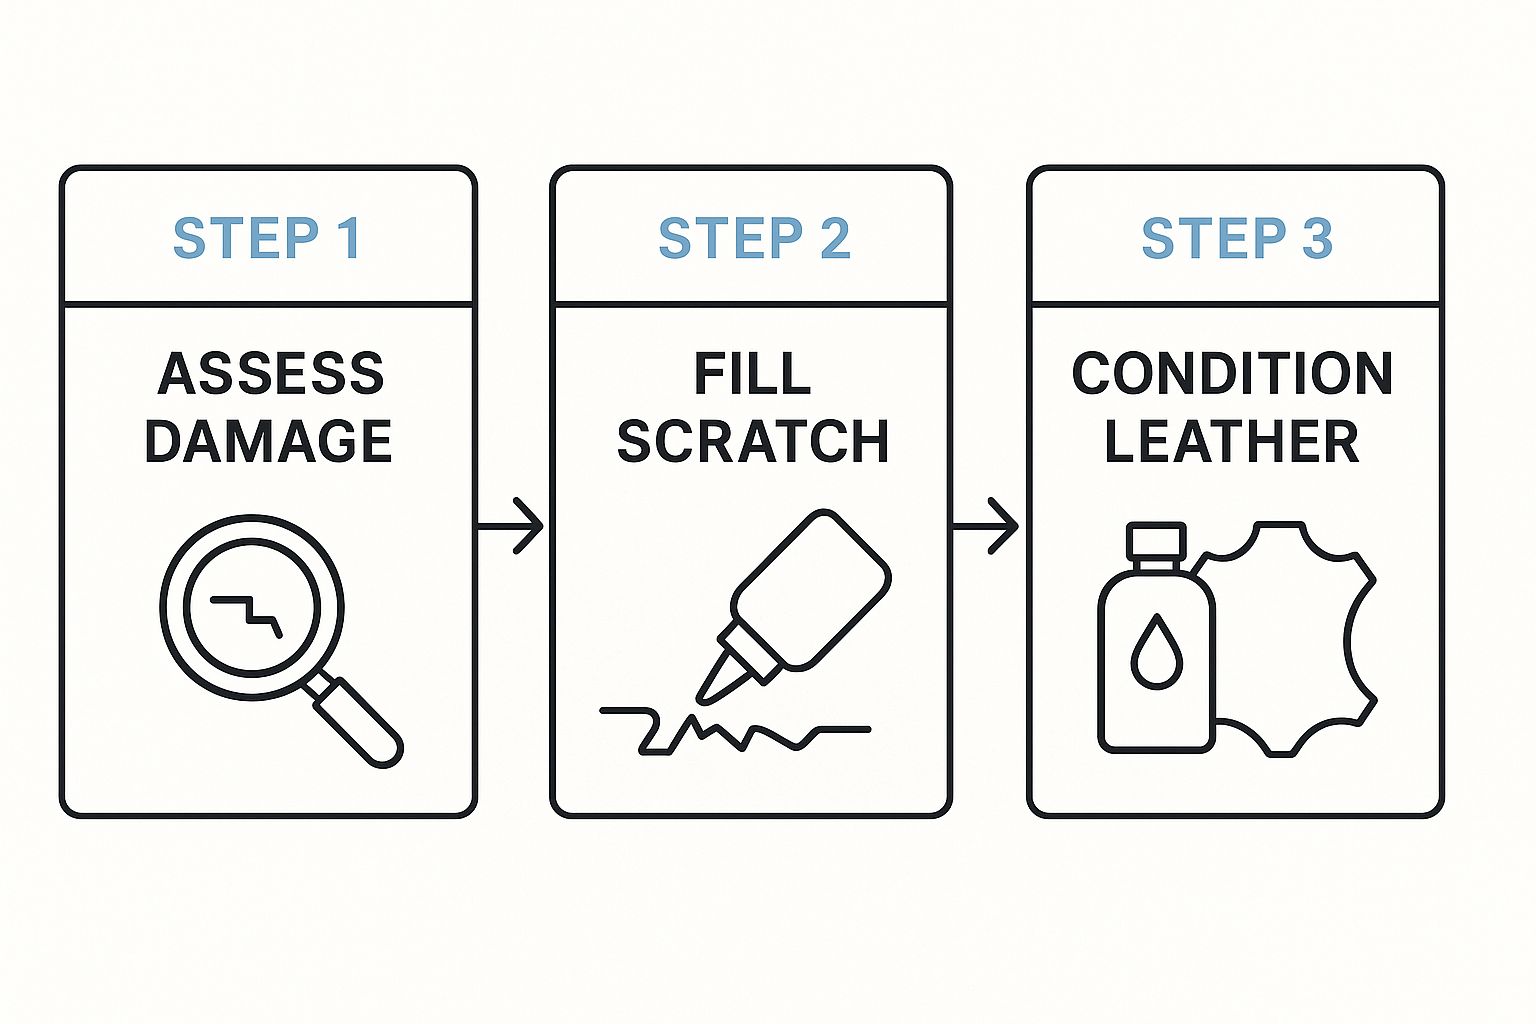
As you can see, spending that extra time on proper assessment and careful sanding really pays off. It leads to much better filler adhesion and a far more durable finish in the end.
Before you jump in, get your tools ready. You'll need:
- A good leather cleaner and a dry microfibre cloth
- 1200-grit sandpaper for smoothing everything out
- A flexible leather filler compound designed for deep repairs
- A palette knife or a small spatula for applying the filler
Applying Flexible Leather Filler
Start by mixing a small amount of filler on a separate, clean surface. Using your palette knife, work a very thin layer of the filler directly into the gouge. The key here is to apply layers so thin that each one barely seems to change the surface.
From my own experience, building up the repair with multiple thin layers is always better than trying to fill the hole in one go. A single, thick application is prone to shrinking and cracking as it dries. Thin layers, on the other hand, create a much more stable and solid foundation.
It's a straightforward process, just follow these steps:
- Apply a thin layer of filler using light pressure.
- Let it dry completely, which usually takes about 20–30 minutes.
- Give it a very light sanding to smooth out any high spots before the next coat.
A bit of patience during the layering stage is what makes the difference between an obvious patch-up and a seamless, professional-looking restoration.
Finishing the Surface
Once the filler is built up so it’s sitting just proud of the surface, it's time for the final sanding. Carefully sand it down until it’s perfectly flush with the surrounding leather. Wipe away all the dust with a slightly damp cloth, and you'll have a smooth canvas ready for colour.
Here’s a pro tip: before you apply any colour, give the repaired area a quick wipe with a bit of isopropyl alcohol. This gets rid of any lingering grease or oils that could stop the dye from adhering properly. After that, you'll find the colour goes on much more evenly.
Finally, apply a quality leather conditioner to the entire panel, not just the repaired spot. This helps to rebalance the moisture and blend the texture of the old and new surfaces together. Your repair will become virtually undetectable, giving your furniture a new lease on life.
Mastering Colour Matching and Finishing
This is where the real artistry comes in—making your hard work completely disappear. Getting the colour spot on might feel intimidating, but the secret is to build it up gradually, not slather it on.
You'll need a high-quality leather colourant or balm that's a close match to your furniture. The trick I've learned over the years is to start with a tiny amount on a sponge or lint-free cloth. From there, you just dab it gently onto the repaired area.
Building the Colour Seamlessly
The aim is to apply the colour in several thin, almost translucent layers. This approach gives you far more control than one thick, heavy-handed coat ever could. Let each light layer dry for about 20-30 minutes before you even think about adding another one.
As you work, feather the edges of the repair. That just means dabbing more lightly as you move away from the centre, blending the new colour into the surrounding original leather. This simple technique is what prevents that harsh, obvious line that screams "bad repair job." If you're interested in a more dramatic change, our guide on dyeing a sofa has some great advice.
The single biggest mistake people make is trying to rush the colour. Patience is your best friend here. Building the shade gradually is the only way to get a perfect, professional-looking match.
This careful approach to colour is what separates a DIY job from professional work. It's no surprise that many UK cobblers and repair specialists are seeing a surge in business for scratch removal, using these exact techniques as more people choose to restore rather than replace.
Applying the Final Sealant
Once you're completely happy with the colour match, it's time to lock it in. Applying a leather sealant or finisher isn't optional—it protects the repair from future wear and tear and stops the colour from rubbing off.
Just as importantly, the sealant restores the original sheen of your furniture. You'll need to choose one that matches your leather’s existing finish, which usually falls into one of three categories:
- Matte for a completely flat, non-reflective look.
- Satin for a subtle, gentle lustre.
- Gloss for a high-shine, polished appearance.
Apply the sealant in a thin, even layer and then leave it alone. Let it cure completely according to the manufacturer's instructions. This final step is what truly makes the repair invisible, protecting your work and bringing your furniture back to life.
Common Questions On Leather Repair
Even experienced DIYers hit stumbling blocks when tackling scratched leather. Below, you’ll find straightforward solutions to the most frequent queries that pop up mid-project. These insights will help you move forward with confidence.
Can I Use Olive Oil For A Quick Fix
It’s tempting to grab pantry staples like olive oil or other cooking oils. But despite a short-lived sheen, these oils can darken leather permanently, leave behind a greasy film that attracts dirt and cause the fibres to break down over time.
Common pitfalls:
- Oils soak unevenly and stain.
- Grime sticks to that slick residue.
- Leather loses its natural strength.
Always reach for a leather-specific conditioner or balm. These products are formulated to nourish without harming the hide.
How Do I Prevent Future Scratches
Preventing damage is far easier than repairing it. A routine conditioning every three to six months keeps the leather supple and more resistant to everyday scuffs.
For extra protection:
- Drape a throw or blanket over high-traffic areas and spots favoured by pets.
- Check pockets for sharp objects like keys before sitting.
- Consider stylish leather chair covers when you need a quick barrier.
Call a professional for
- large tears
- extensive colour loss across an entire item
- damage to delicate hides such as suede
On high-value or heirloom pieces, expert care is worth every penny.
If you’re ever unsure, a quick consultation with a leather specialist can save you hours of trial and error.
At The Sofa Cover Crafter, we believe in extending the life of your furniture with smart, stylish solutions. Explore our collection of beautiful and practical sofa covers to protect your cherished pieces. Find your perfect fit at explore our durable covers.